Departments
Search
Follow Us
Tags
Latest Highlights
IBH
Cutting Down On The Glare – Or My Very Cheap Light Box
First off, I’m not claiming to be a pro at taking pictures, far from it! We all know that getting good pictures of our items is very important when it comes to selling our creations on line. I’ve had my digital SLR camera for just about a year now and I feel like I’m just beginning to really make better use of it.
However, the extremely hard part for me is getting good pictures of my glass items (which is pretty much everything I do) without a lot of glare. I have several ornaments that I finished almost a year ago, but haven’t listed until just recently because I was unable to get pictures of them without a lot of glare on them.
Until now.
This is my very make shift “light box” – now, you have to understand, I don’t have any lights to use with it, so I’m at the mercy of the sun. Which is a bit ironic, because I usually get some of my better pictures on cloudy days. But, we don’t have very many cloudy days here, so I had to come up with a better solution. After reading about another light box and some other solutions, on the HAF blog, I finally came up with this idea.
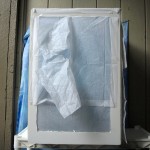
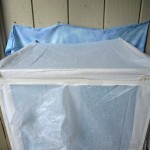
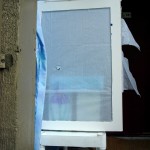
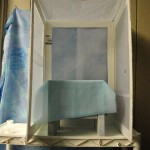
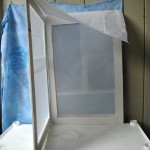
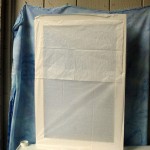
Using 3 pieces of foam core, I cut a rectangle out of each one, leaving about a 2 inch border all around. Then, I took white tissue paper and taped it to 2 of the pieces and the top of one side. Then I laid out the foam core side by side and ran tape down the edges, connecting the 3 pieces together. Originally, I left the side that was facing away from the sun open so I would get more light. I eventually put tissue paper on this side too, as I was getting some dark reflections from my maroon door. The paper that covers the top, is taped to the top of the front and the top of one side, which means every time I use it , I have to tape it to the top of the other side. I did it this way, because it makes it easier to fold up. Before you tape the paper on top, test out how easily and which way it folds best.
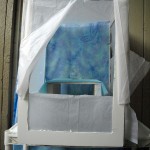
On the front, I overlapped two sheets so I would have room to get my camera lens inside this opening, and have enough to completely close up the front. Since I will often take at least 5 pictures of my ornaments, I needed to have fairly easy access to the inside. So far, it’s working pretty well – it’s not the most beautiful thing in the world, but it did fit within the budget. I want to try it with some white lining material so I don’t end up with rips like I have in the paper, even that little hole I currently have on one side is enough to put some glare on my ornaments.
So, I offer my somewhat hasty attempt, but very inexpensive “light box” as a jumping off point for anyone who needs to come up with something to reduce the glare on their beautiful creations.
If you have any questions about how I constructed this, I’ll be happy to do my best to answer them.
- Front of Box
- Top of Box
- Side of Box
- Looking inside
- From The Back
- Top untaped – 1 side folded in
- All Folded Up
Tags: glarefree pictures, handcrafted, light box, taking pictures without glare
Posted in Information


Leave a Reply
You must be logged in to post a comment.