Departments
Search
Follow Us
Tags
Latest Highlights
IBH
Handmade Polymer Clay Pumpkin Tutorial
Handmade Polymer Clay Pumpkin Tutorial
by Beverley Start
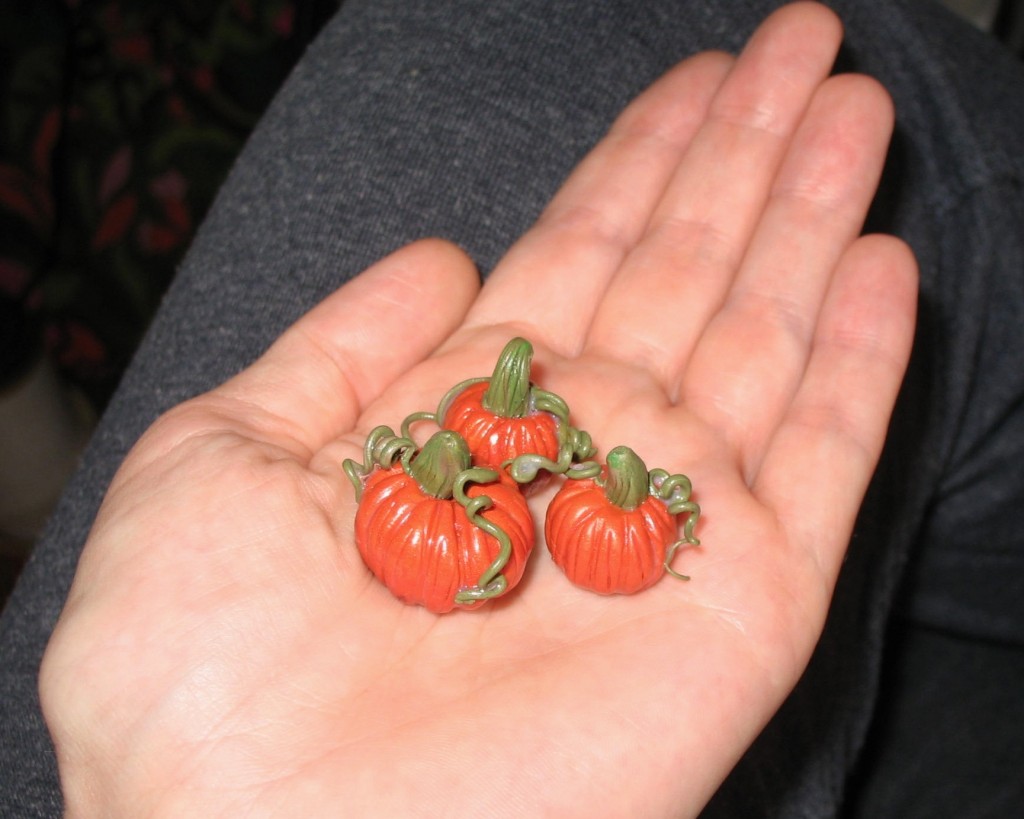
I handmade these adorable polymer clay pumpkins today and really loved how they turned out so I thought I’d share the process with a tutorial.
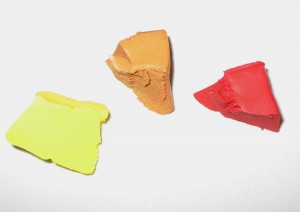
1.Take equal parts of gold, yellow, and red and mix them together leaving them a bit streaky to create a realistic look on the finished pumpkin. 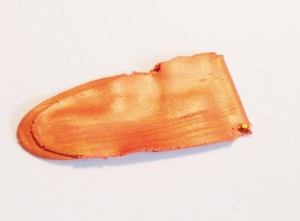
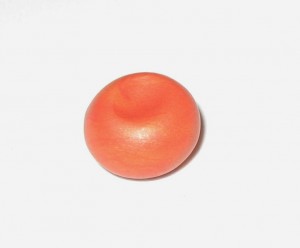 2. Make a ball the size you want and press down in the middle with your baby finger or something that will give it a nice dimple.
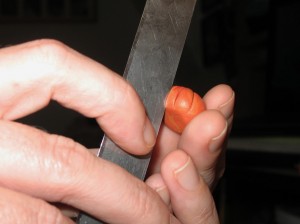
3. Take a dull blade or other suitable edge and create ridges all around the pumpkin.
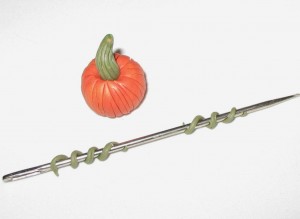 4. Mix green with brown until its streaky (more so than the pumpkin color) and make little cone shapes for the stems. Next, using your edge or blade, add lines all around it before adding it to your pumpkin.
5. Gently press the stem into the dimple on the top of the pumpkin. *For an added detail add some smaller lines all over the pumpkin’s surface in between the large indentations you made earlier.
6. Now using the same green/brown mixture roll out with your fingertips a long thin snake and wrap small lengths around a safety pin or sewing pin or whatever is handy and works.
7. Bake as directed on the polymer clay package and let the pieces cool.
8. Using crazy glue, gently attach the curly cues to the base of the pumpkin’s stem.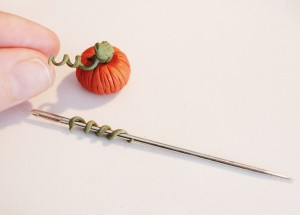
9. Use water based polyurethane to seal it and let it dry.
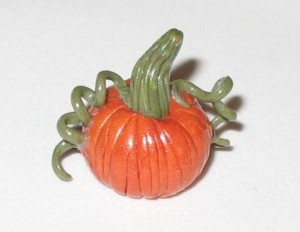 These adorable little veggies are ripe and ready to be used in your arts and crafts projects. Enjoy and happy harvest everyone!
Tags: art, artisan, artist, buy handmade, clay, craft, crafts, Creative Handmade Artisans, fall autumn, Halloween, Handmade, Handmade Artists, Handmade Products, harvest, polymer clay, pumpkin, pumpkins, sell handmade, selling handmade online, thanksgiving
10 Responses to “Handmade Polymer Clay Pumpkin Tutorial”
Leave a Reply
You must be logged in to post a comment.


Wow what a great little tut. I think I am gonna try these. Not sure what I will do with them if they turn out, but they are soooooo cute.
Let me know how they turn out Beadthing…and what you decide to use them for:)
Very cute. Nice, clear instructions.
Super cute!!! Trying clay is on my “one day I’ll try this” list. 🙂
Nice Tut Beverly!
[…] Go to Source Author: startsarts […]
how cute…can you put holes in them before baking to make them charms for jewelry? or beads?
Debbi
–yankeeburrowcreations
Yes Debbi you sure can…Or after baking you can hand drill them with a drill bit. I have a few different drill bits that I’ve made little polymer clay handles for so that I can hand drill them with ease.
[…] Go to Source Author: startsarts […]
[…] Handmade Polymer Clay Pumpkin Tutorial […]