Departments
Search
Follow Us
Tags
Latest Highlights
IBH
Travel Tissue Holder Tutorial
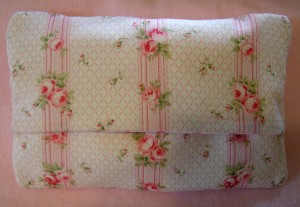
If you have even the basic sewing skills, this is a quick and easy handmade gift idea for any of the women on your gift list! These are great to keep in your purse, diaper bag, desk, and car.
Gather Your Supplies:
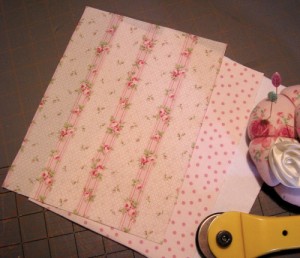
~Fabric for the outside of your travel tissue holder ~ I use regular cotton quilt fabrics or decorator fabrics.
~Coordinating lining fabric
~Cotton batting or flannel for interfacing*
~Each piece should be cut 6-1/2” x 8-1/2”
*I use flannel for my interfacing because I love the softness and it’s so easy to work with.
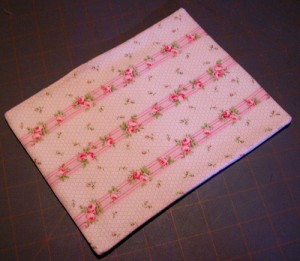
1. Place your fabrics on your cutting table in the following order.
~Flannel
~Lining – right side up
~Outer fabric – right side down
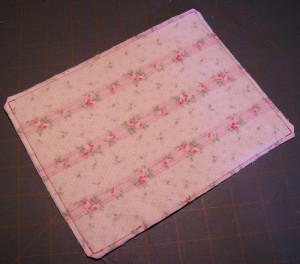
2. Use 1/8” to 1/4” seam allowance. I use about a 1/8” seam allowance. Start sewing approximately 2” from the bottom and stitch all the way around, leaving a 2” opening a for turning the fabric. Be sure to back stitch at the
corners. I’ve used a dark pink thread in order to show the stitching, but you will obviously use a coordinating thread. Clip the corners to eliminate any bulk.
3. Carefully turn the tissue holder right side out. You’ll need something to push out the corners. I usually use a knitting needle. Don’t push too hard on the knitting needle. (I know this sounds like the obvious, but I’ve put a hole straight thru my fabric before by pushing too hard!)
4. Press your fabric, folding in and pressing the seams of the opening left for turning. You can either hand stitch this opening closed or use some fusible tape. (I do both)
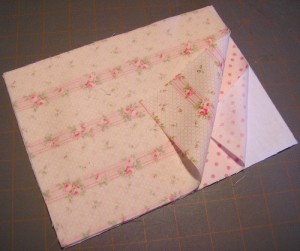
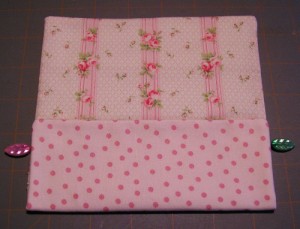
5. Mark your tissue holder with pins at the halfway point along the lengthwise sides. This is just to use as a reference point. Fold one end approx. 1/4” – 3/8” beyond your reference pins.
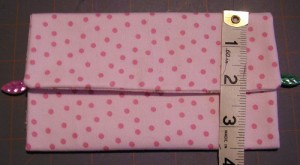
6. Fold the opposite end over the bottom flap so that it measures 3-1/2” from the top to the bottom. Finger press the top and bottom folds or pin in place if that’s easier for you. The reason I overlap the two flaps is that it helps to keep your tissues clean.
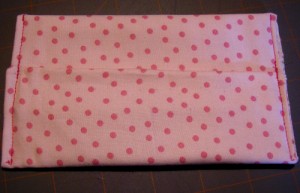
7. Sew 1/8”-1/4” from the sides, backstitching at the beginning and end of stitching and at the intersection where the two flaps meet. Repeat on the opposite side.
8. Turn your tissue holder right side out and you’re finished!
These make great, affordable gifts or stocking stuffers!
Written by MarilynKelleyArt
Tags: accessories, gift, gift ideas, Handmade, kleenex holder, stocking stuffer, tissue holder, travel, tutorial
Posted in Handmade Holiday, Tutorials
5 Responses to “Travel Tissue Holder Tutorial”
Leave a Reply
You must be logged in to post a comment.


that is very cute…and it seems so easy…
thanks for the class.
Debbi
–yankeeburrowcreations
Thanks for sharing your knowledge with us! I am a sewing kind of person but have never thought to try these.
Neat, and a very quick project.
[…] Go to Source Author: MarilynKelleyArt […]
[…] Go to Source Author: MarilynKelleyArt […]