Beginning Metalsmithing
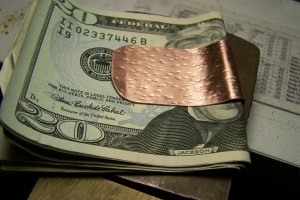
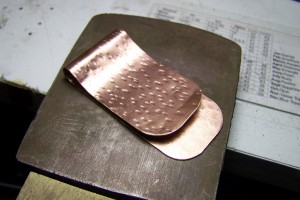
When beginning at metal working, it is good to play with a simple project. In this case the metal is copper, and the project is a money clip. The entire project needs to be planned before you begin any work. Drawings of what you want to achieve and what effect you want need to be done. In this case you can see that the finished money clip has patterning done, there is a bent up lip where the money is inserted and there is a round opening to make a spring effect to hold the money in place.
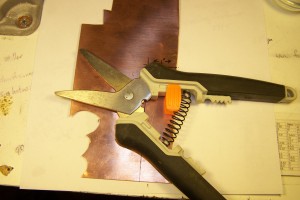
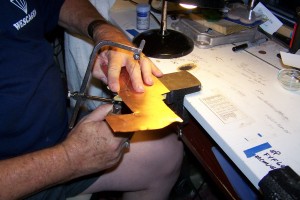
Select your metal, and decide on the method for cutting the basic shape from the original sheet.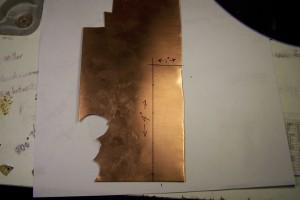 Here you can see the rectangular shape for the clip has been drawn on the copper sheet. Then you have two ways to cut the shape our of the sheet. A jewelers saw can be used with the appropriate size blade inserted. I like to use 4-0 or 5-0 blades and take my time. Piercing with the saw makes a cleaner cut for me than using shears. Shears are the other choice. In this case since only two straight line cuts are needed, with will work.
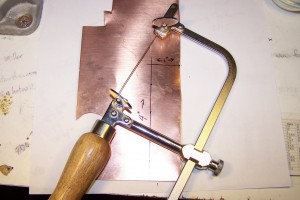
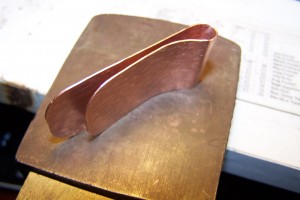
After piercing the rectangle from the sheet of copper (20 gauge); the corners were filed into a rounded shape and the pattern was put on the surface using the peen end of a chasing hammer. Then the shape was bent around a nail to make the spring about 0.25 inches off center so the top is shorter than the bottom of the clip. Then using flat nose pliers, the end of the top of the clip was bent up slightly. Producing:
Now all you have to do is add the money. For a white metal to practice this type of cold forming, aluminum can be used. For this project, no fire was needed, nor were more advanced types of forming. More difficult projects will be presented in future blogs. If you have any questions, please feel free to contact me.
Tags: art, artisan, copper, copper money clip, Handmade, Handmade Artists, jewelry, Metalsmithing, Money cllip
Posted in Creative Breakroom, Featured Vendor, Handmade, Handmade Artisans, Information




Great post John, curious if the copper would have any spring back or not. I know the copper I use when making jumprings has little to no spring back. Haven’t done much with copper sheet though, so just curious. Love the finished piece!
Great post! I too love copper sheet work, but I am so impatient with a saw. Excellent direction and sweet finished product:)
John, this is really an interesting post with excellent step by step directions. Love the completed money clip.
Excellent article John! Very interesting indeed, once again you amaze me with your experience and talent. Thank you!
I so enjoyed reading this! I have absolutely NO experience with any kind of metals (closest I get is my sewing machine!!!) but found myself fascinated going through the steps outlined. Thank you so much John – I’ve learned something new, once again!!
As with you, the closest thing I get to sewing, crocheting, etc. is to walk by my wife’s sewing machine. Unfortunately, her health precludes her using it.
Nicely done John! It’s interesting to know how other things are done. Thanks!!
This is a lovely piece and something I’m sure I can probably do with my son. I’m thinking upcycling a couple of aluminum cans might be a good idea.
Please be careful with those cans, the metal is thin and can slice you very deeply and easily. However, I do have some sheet aluminum that I use for pieces also. Otherwise have a lot of fun beating on the metal.
Nice article John.